For my GCSE DT coursework, the brief was to build a product in the context of climate change. What started as a normal school project ended up being the thing I spent most of my year on. Below is what came out of it: a lot of research, designing, pitching, and building.
Initial spark#
I’d already been interested in lighting for a while, so I knew early on I wanted to build something focused on illumination.
Looking into the effects of climate change, I found that extreme weather is responsible for around 83% of power outages, as the grid comes under more strain. So I decided to focus the product on power outages specifically.
It needed to do two things: charge essential devices, and put out enough light to actually illuminate a room.
Diving into research#
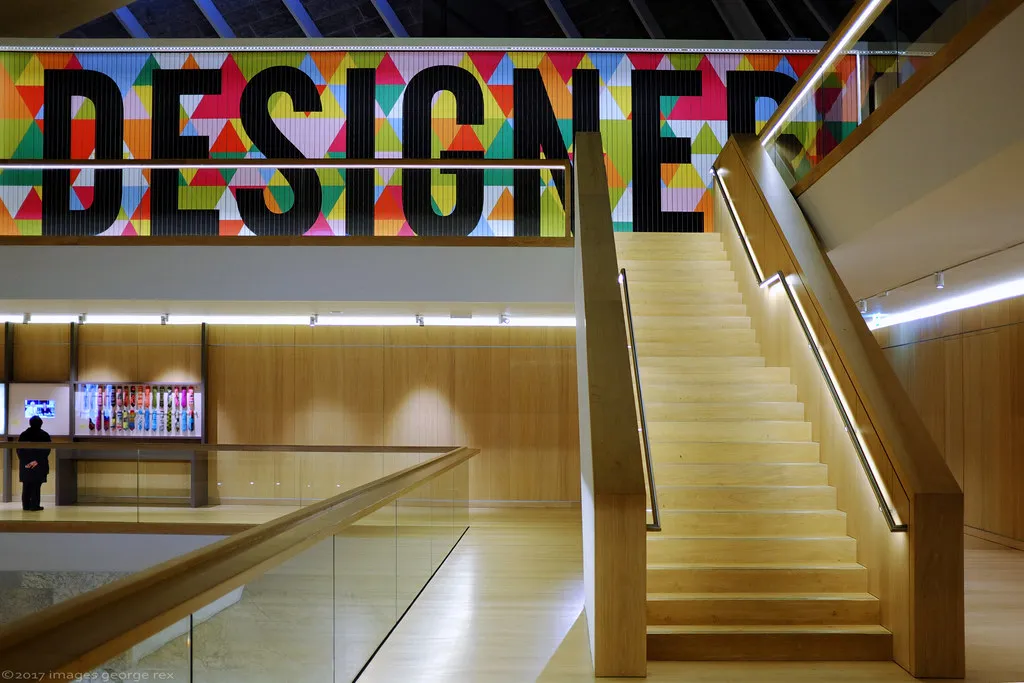
Main hall at the design museum
Good design starts with good research. Between visiting the Design Museum and taking apart a high-end torch, the product slowly started to take shape. From that research I settled on two main design decisions to match the two functions: Bauhausian design, and ceiling bouncing.
Most emergency products are designed to look tough and rugged rather than nice. My theory was that making it stylish instead might actually make it more effective. If it looks good, people are more likely to keep it out in the open rather than shoved in a drawer, which means it’s easier to find in an actual blackout. So I leaned into Bauhausian design elements, which also fit the modern-home aesthetic and nodded to my client’s German heritage.
I also came across “ceiling bouncing” in my research, which ended up being my favourite part of the whole design. Instead of diffusing light through a translucent material, you shine it at the ceiling and let it reflect back down. It’s a technique borrowed from photography, and it gave me an even, diffuse light with the source itself hidden.
Shaping the design#
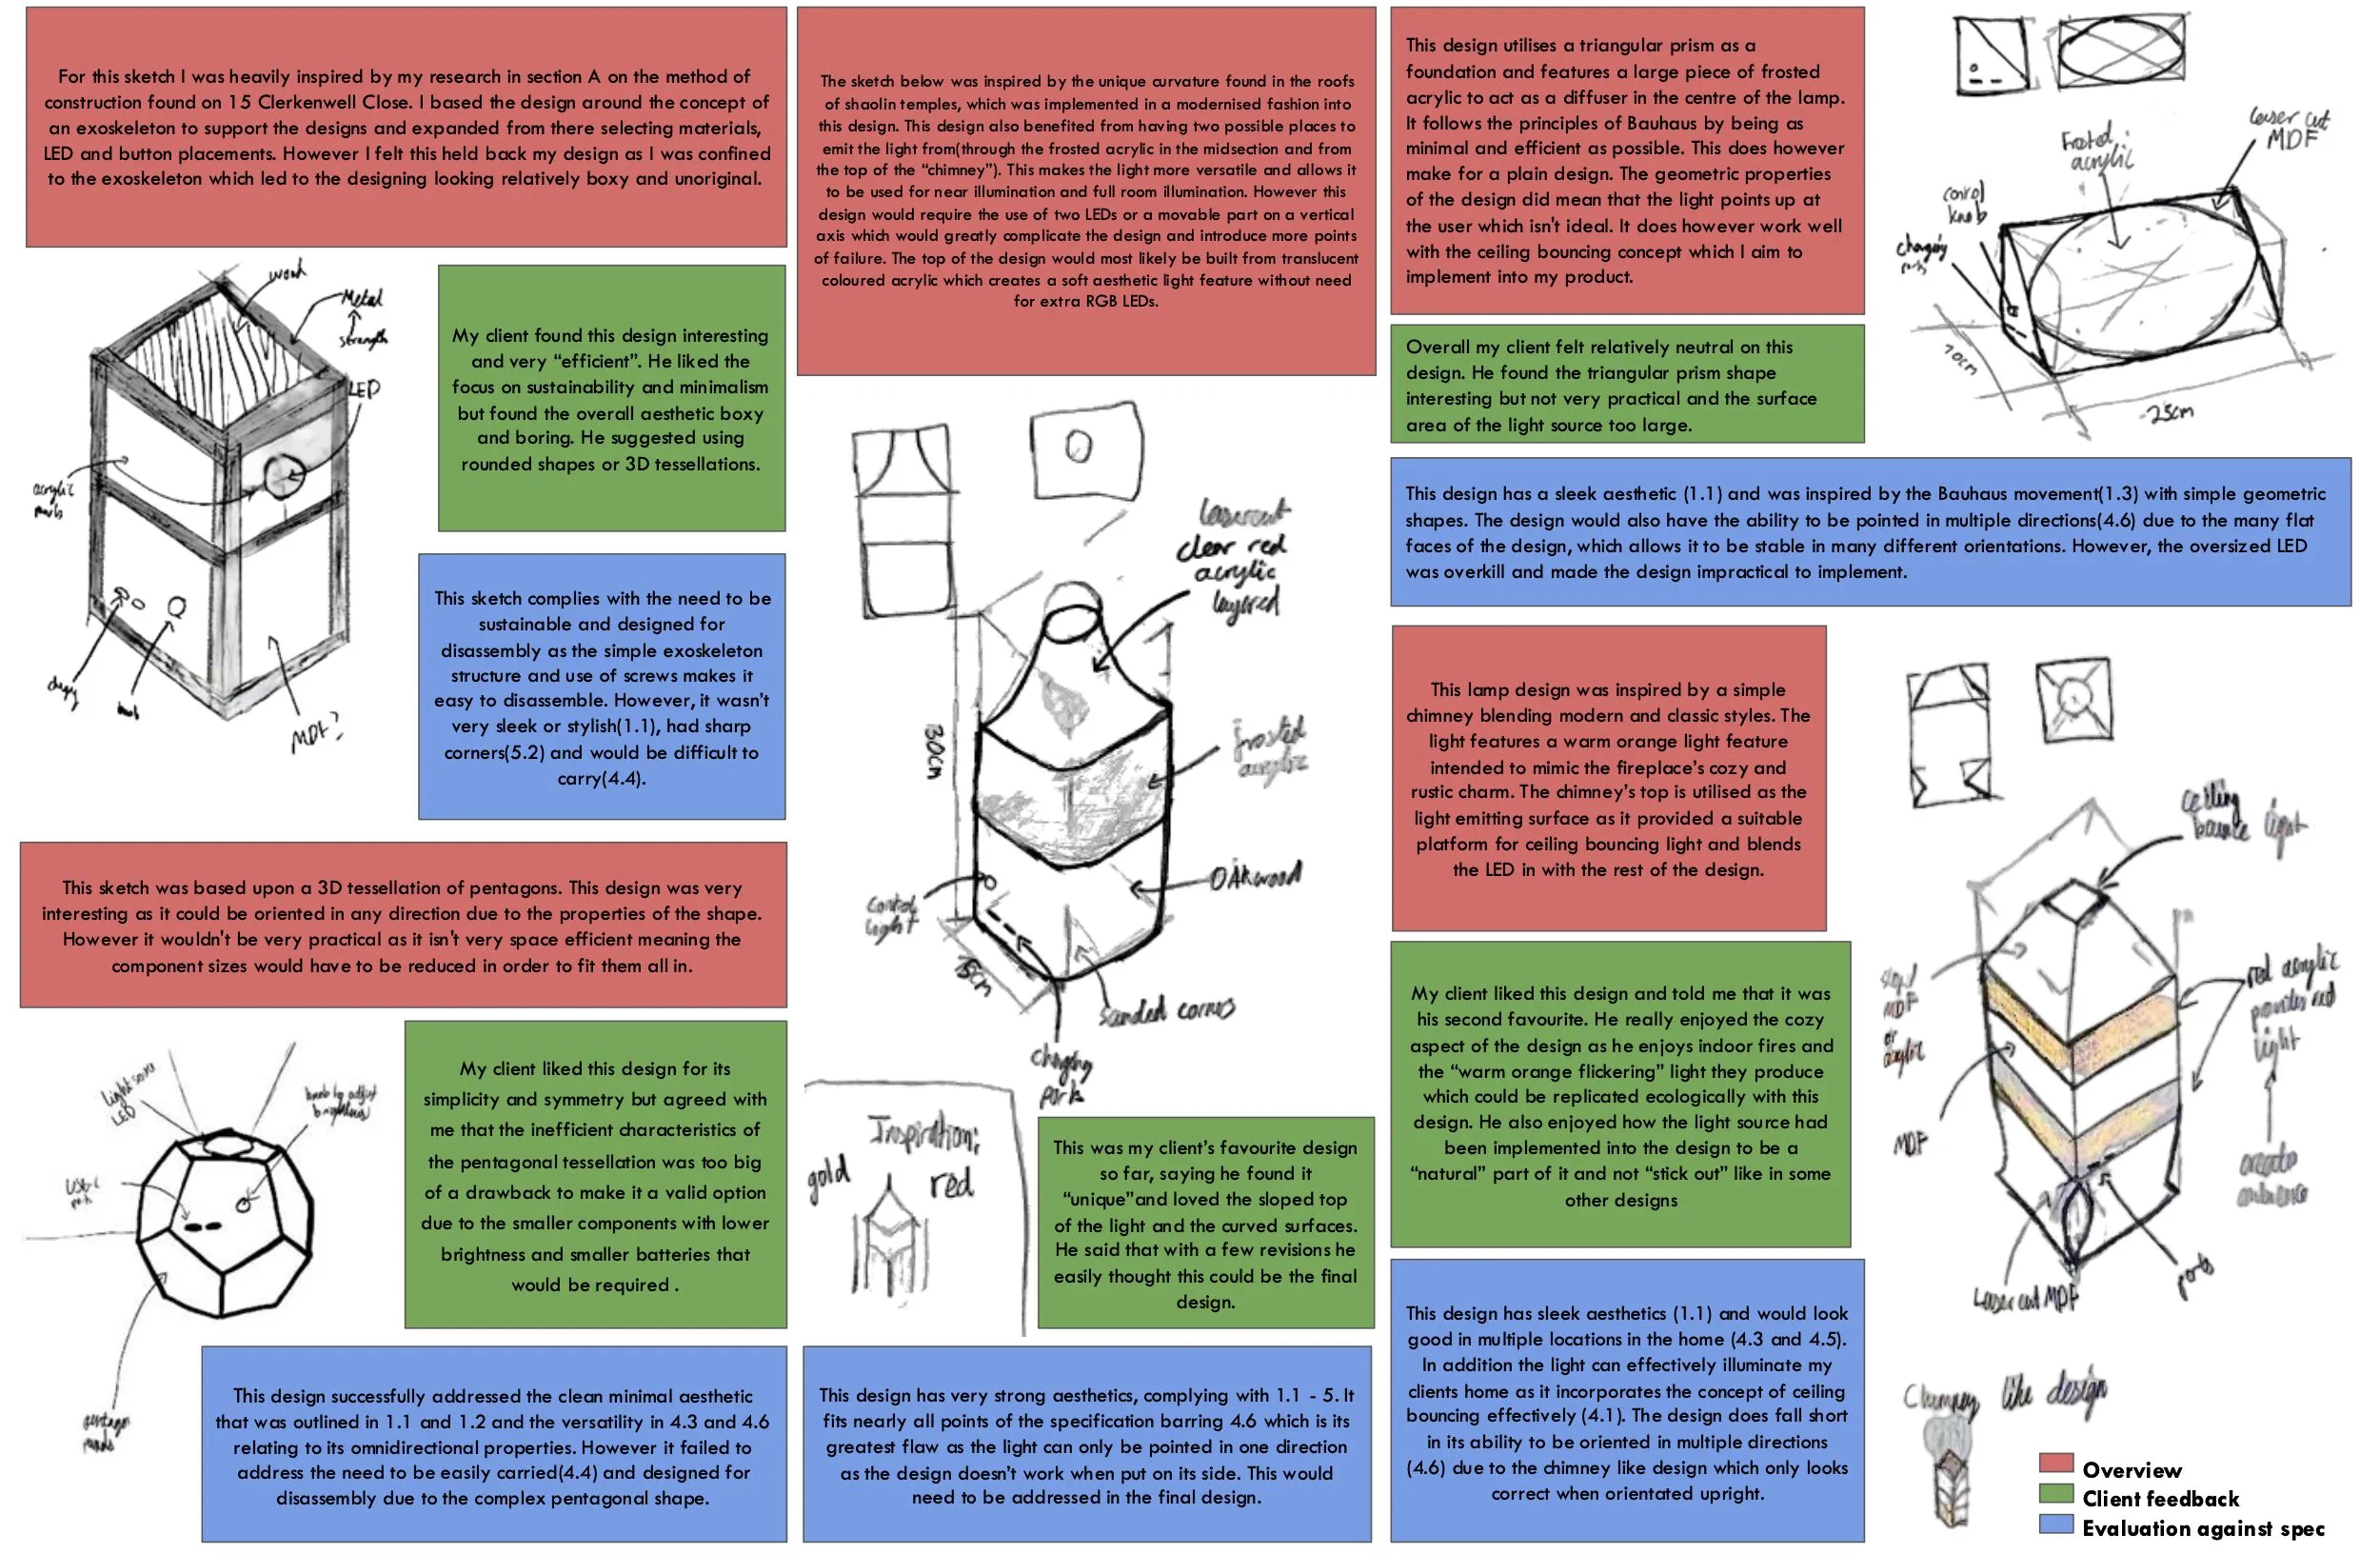
Screen grab of my design process
Design is mostly iteration. My first concepts looked more like rugged fortresses than the sleek, minimal thing I was going for. It took a few rounds of sketching, prototyping, and refining to get from there to a design worth taking further.
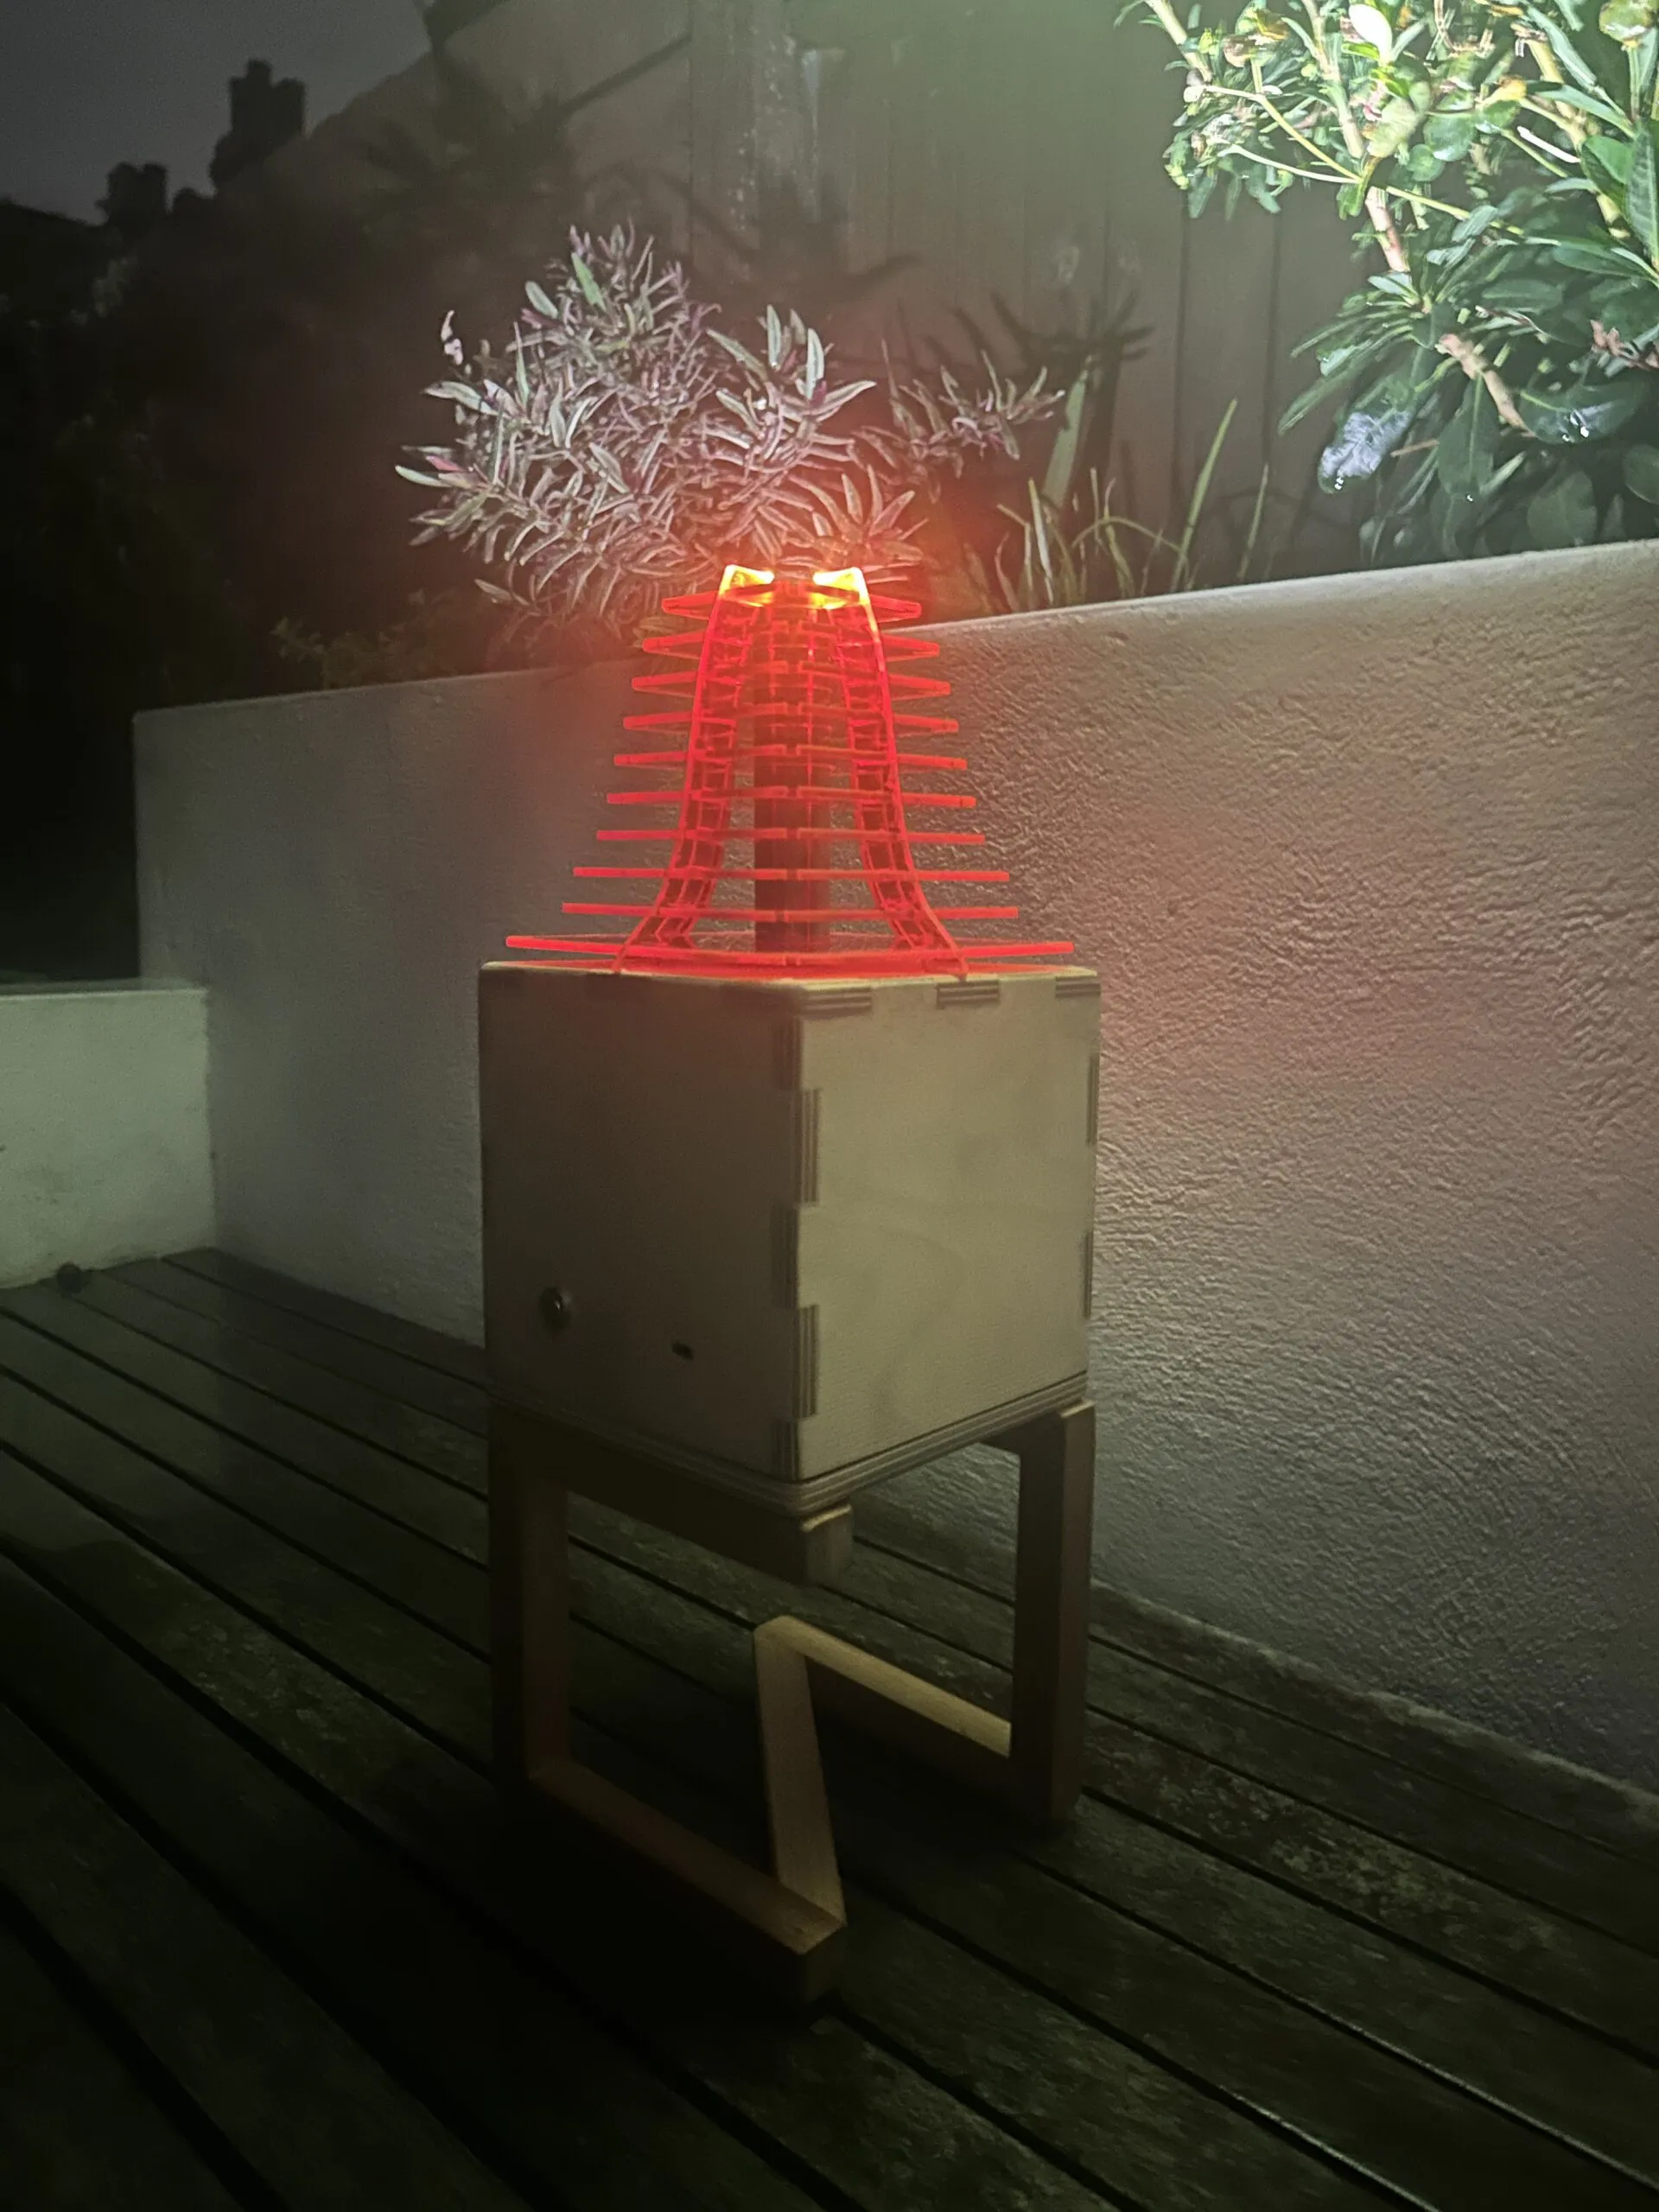
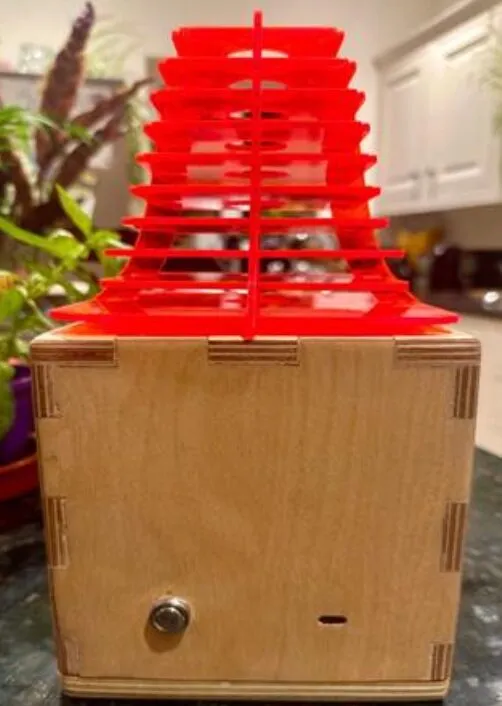
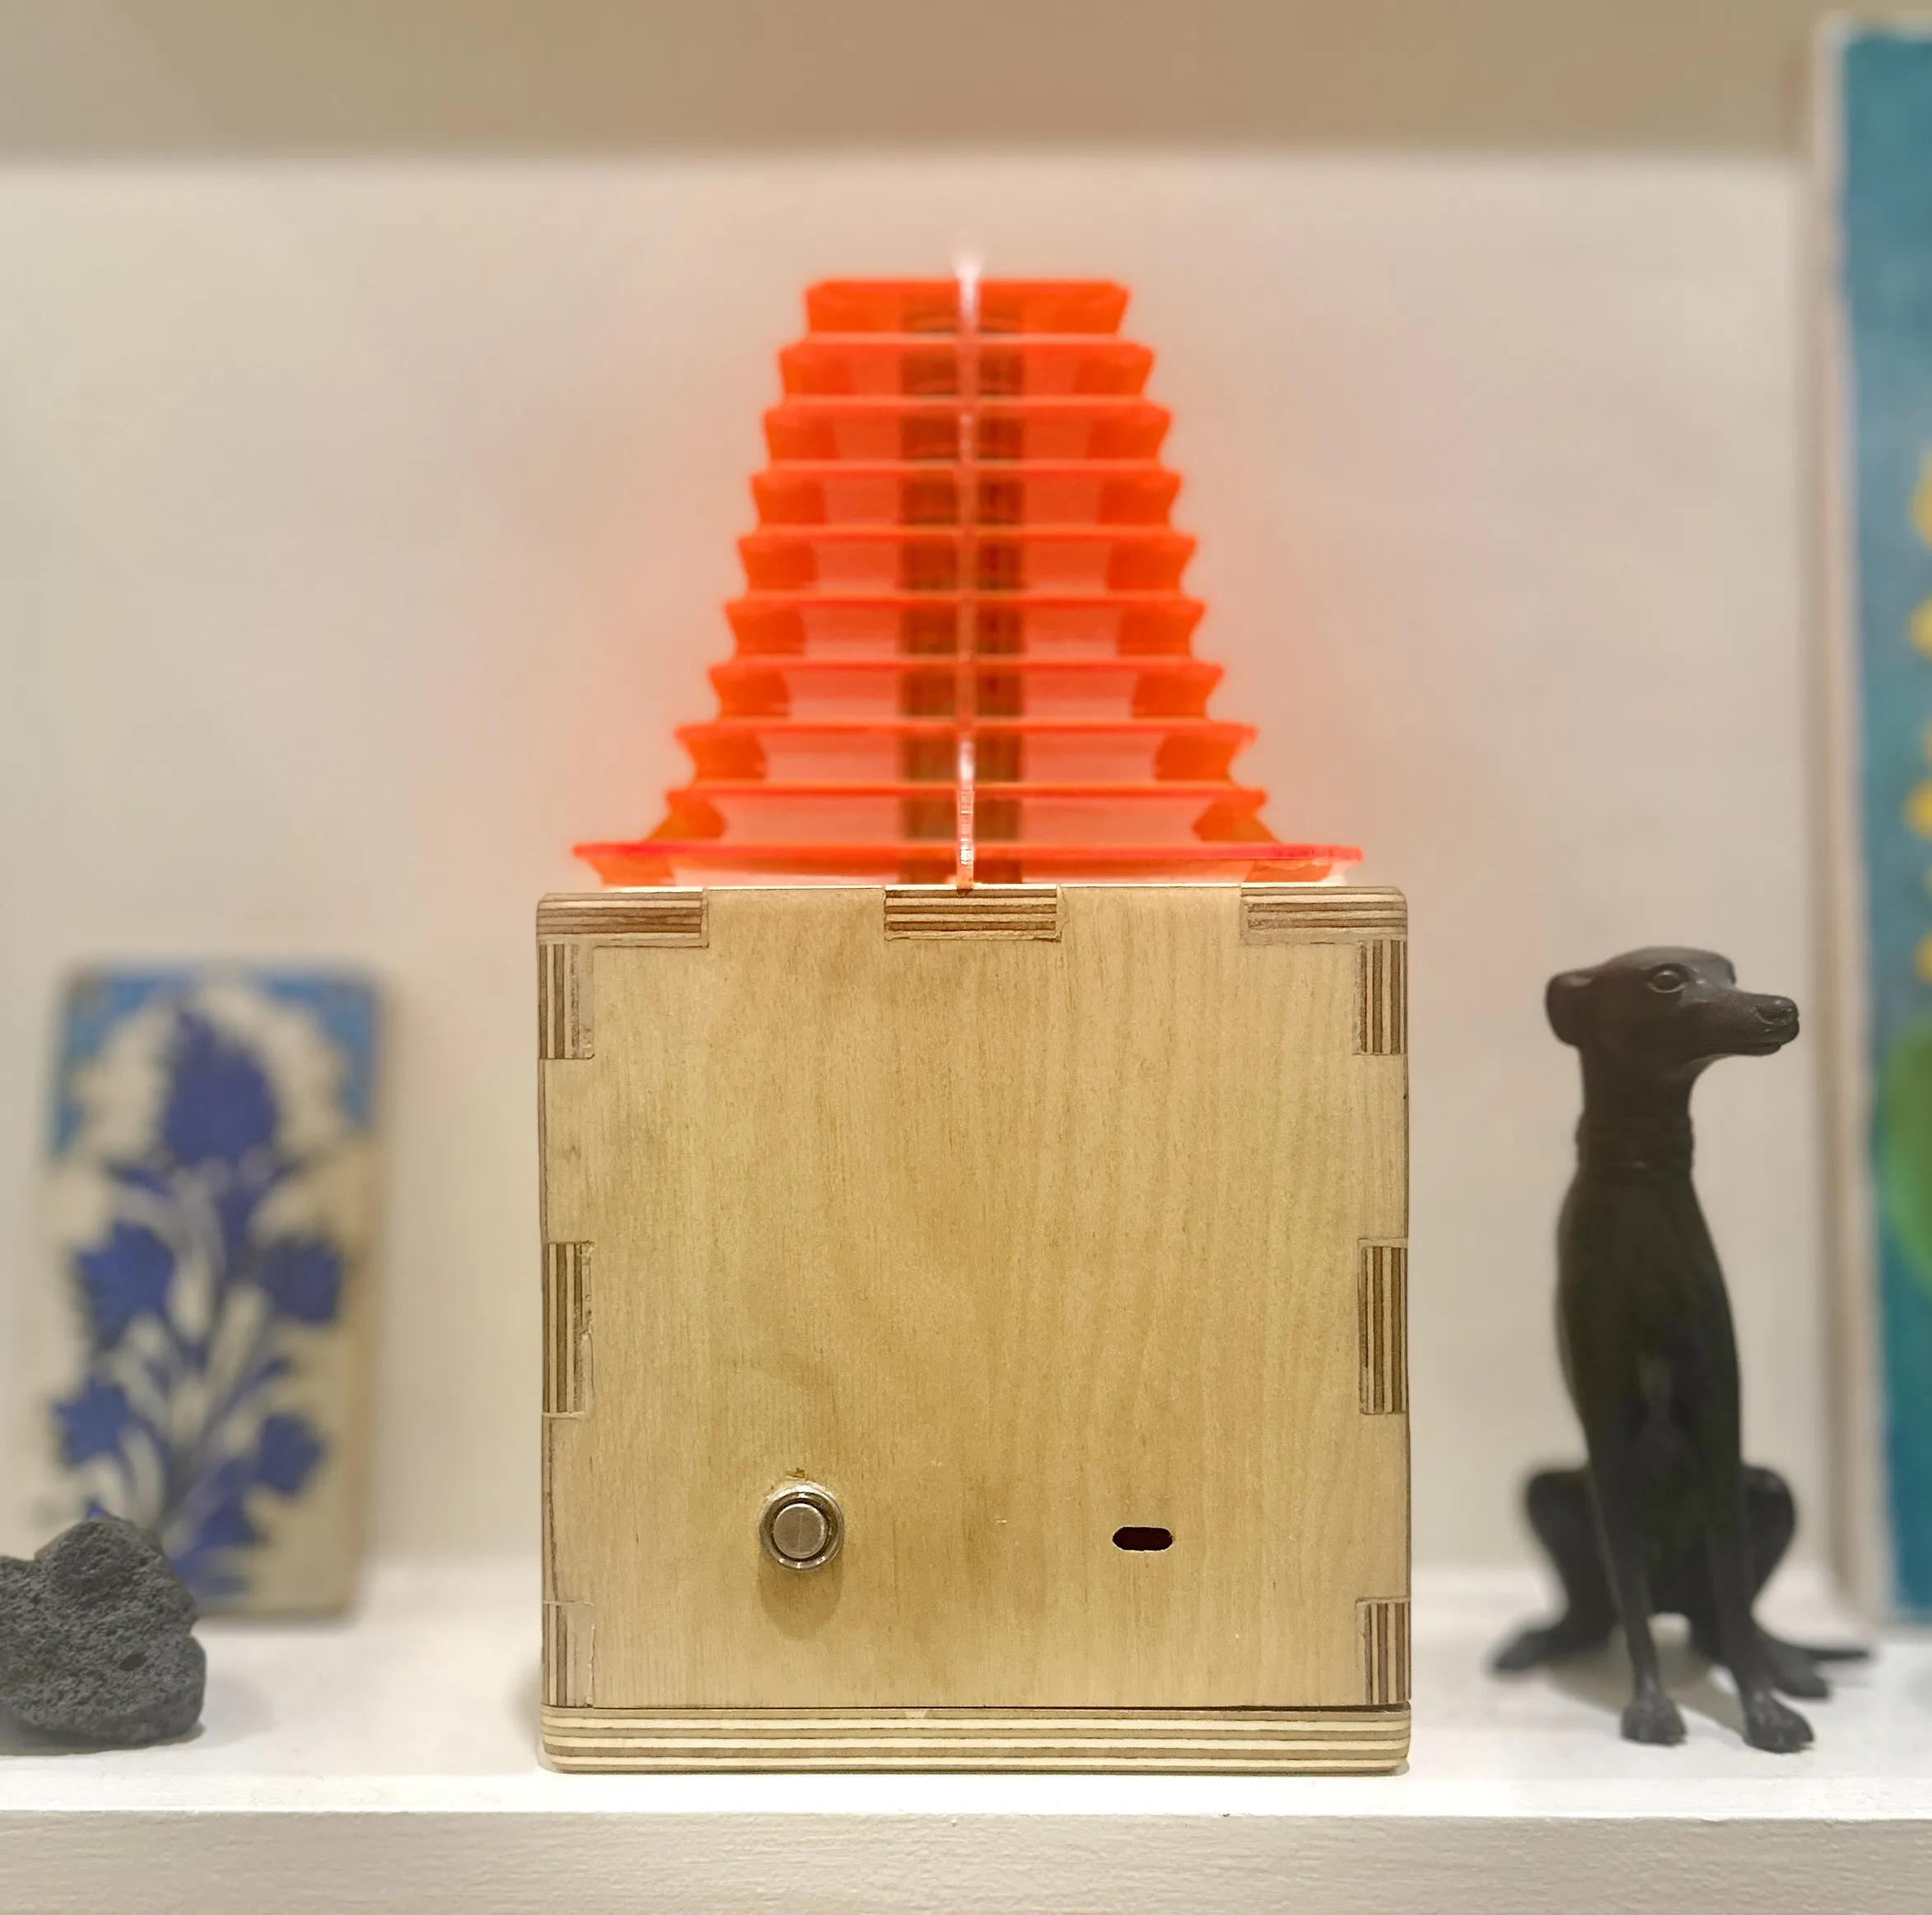
The final design was a rounded wooden cube with box joints for a clean, strong build, and detachable magnetic legs so it could be used a few different ways. At the centre is an acrylic structure that houses the light and also breaks up what would otherwise be a fairly plain cube.
Sustainability shaped a lot of the design too. I used a press-fit base instead of glue so it stays repairable, and made a digital repair guide, accessed via a laser-cut QR code, instead of a printed manual.
Building: Triumphs and Trials#
The manufacturing side had a steep learning curve, especially the woodwork. Cutting the box joints by hand was much harder than I expected, and my first attempts were pretty rough. It got better with practice; I filed each joint by hand for a tight fit and only used wood filler where I really had to.
The legs went through a few iterations too. The first pin-and-box mechanism was repairable but left visible gaps, so I switched to a friction-fit and magnetic system instead, which needed a lot of careful sanding to get the tolerances right. They turned out better than I expected.
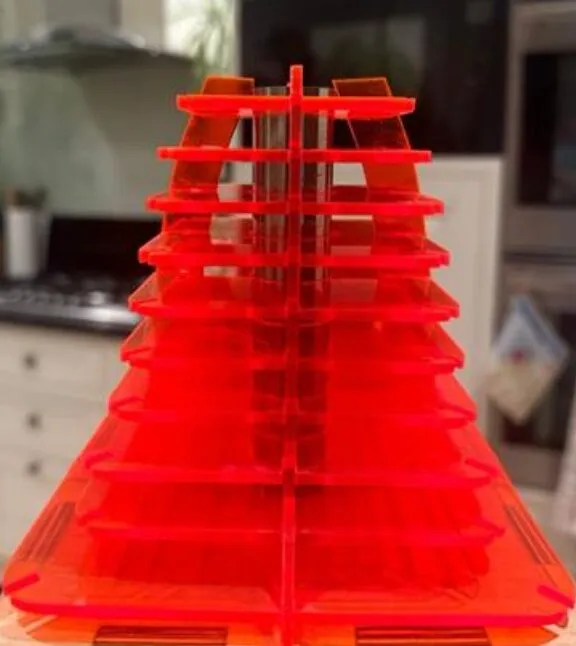
Neon Orange Acrylic Centre-piece
The acrylic centrepiece was its own challenge, as the geometry needed a fair amount of maths to make sure everything lined up properly. The result is one of my favourite parts of the final design.
The electronics had their own set of problems. Power comes from standard 21700 batteries in a parallel case, wired with repurposed cable. I machined a brass pill and copper spacer on a lathe to hold the Nichia 519A LEDs in place, and laser-etched a QR code onto the device linking to the repair guide, to keep it out of landfill for as long as possible.
For finishing, I sanded the wood to a 240-grit finish for a smooth surface, then applied three coats of teak oil to bring out the grain and protect it.
Reflection#
Looking back at the whole process, from initial concept to finished product, I’m pretty proud of it. There’s plenty I’d still improve, but it came out close to what I set out to build.
What mattered more than the object itself was what I picked up along the way: new woodworking techniques, working through the acrylic geometry, and getting my head around the electronics. Each stage pushed me to figure something out I hadn’t done before.
Mostly, it showed me what can come out of actually sticking with a project for a long stretch of time, something I don’t usually manage. This was one of the more useful things I’ve done at school.
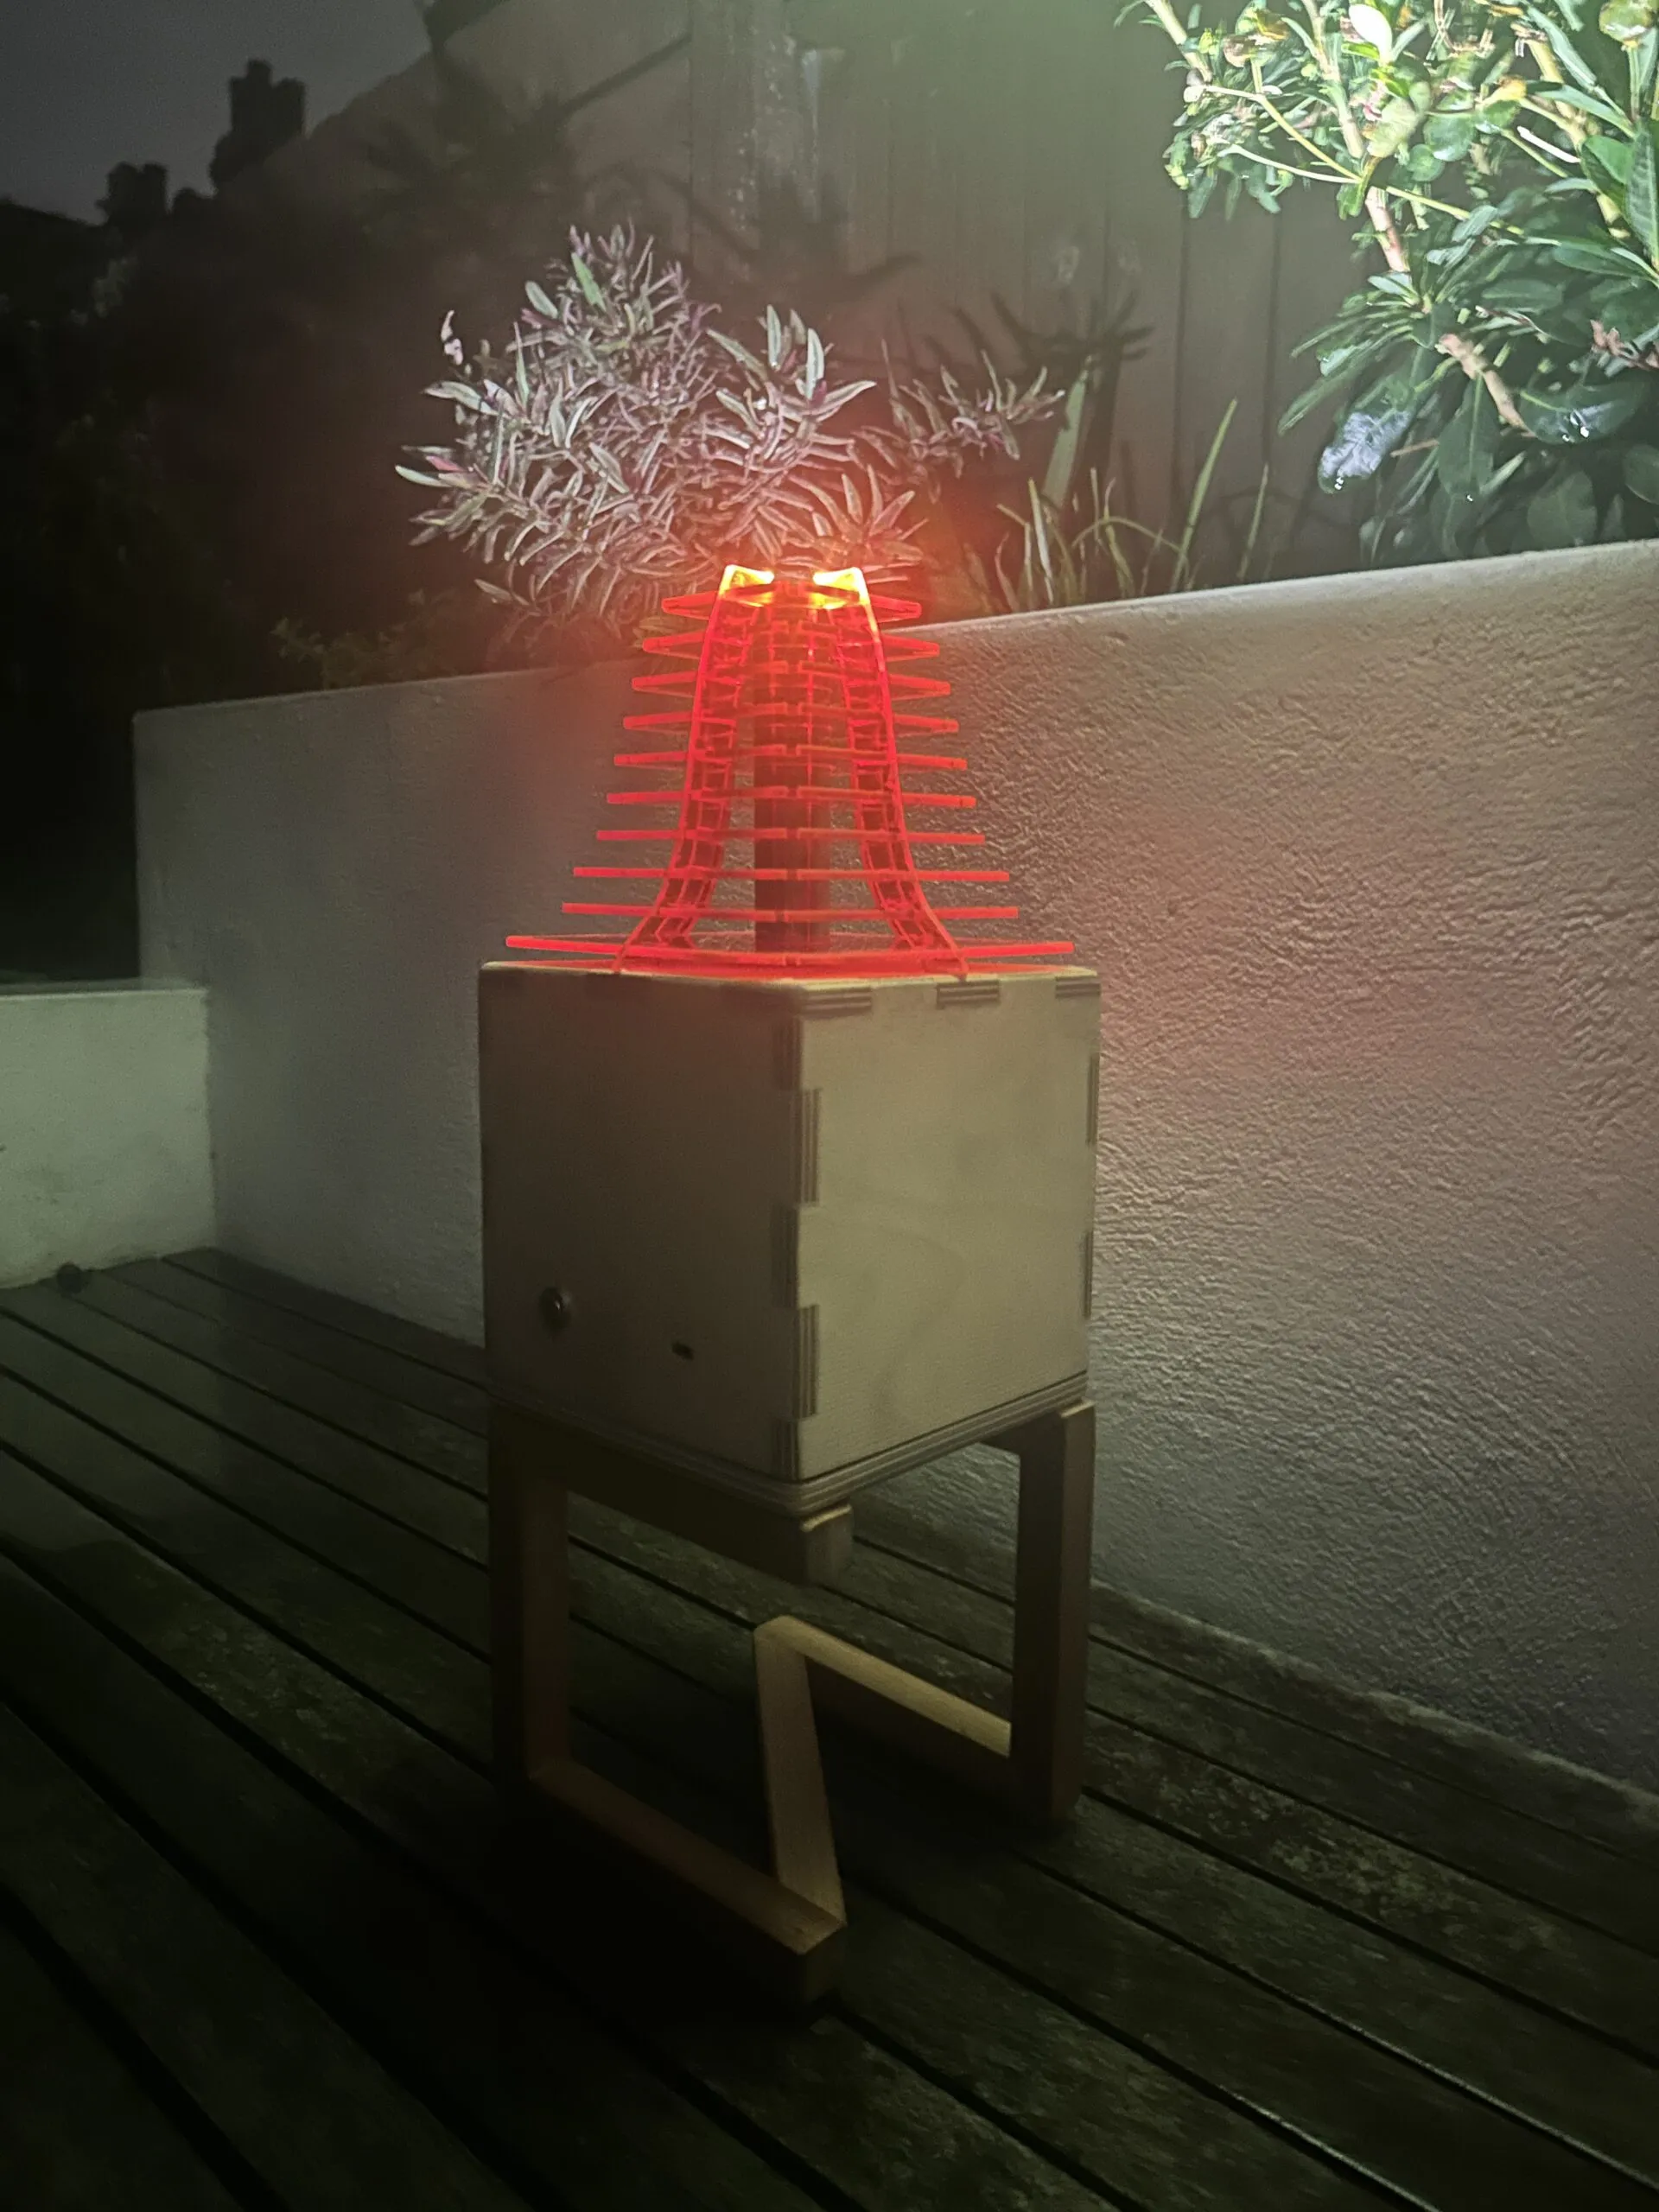
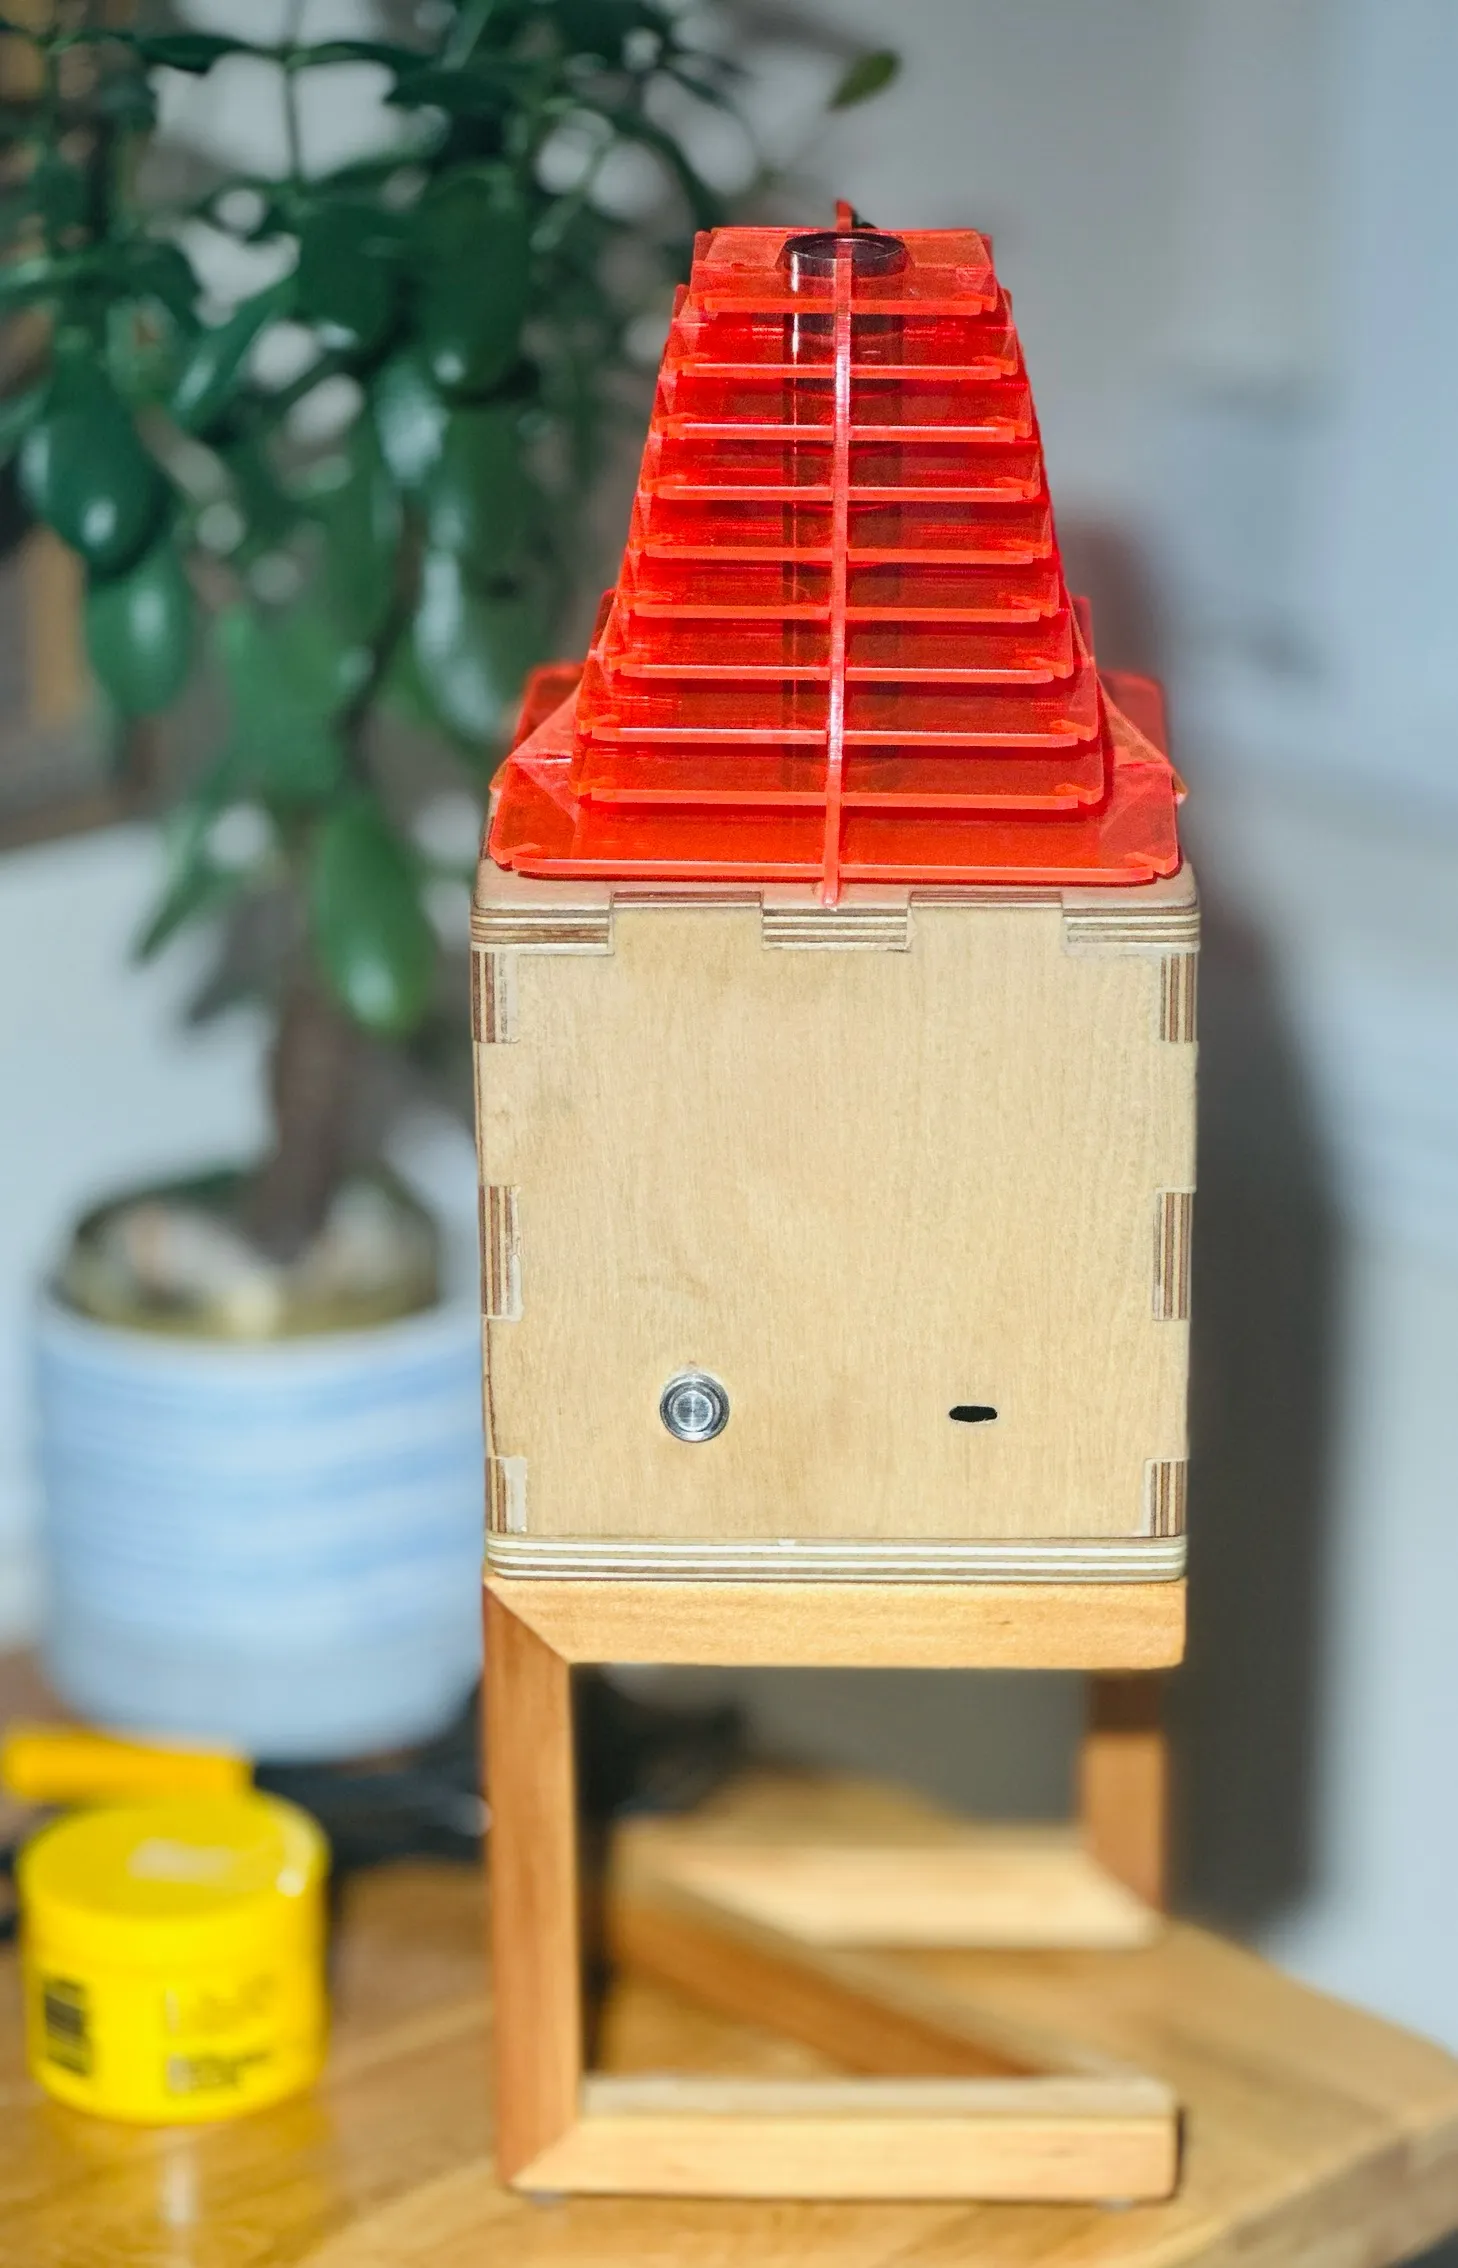
The coursework scored 94/100, which came out as the highest GCSE DT score the school’s had on record (189/200).
All photos by me, capturing the journey from sketch to shine.